Follow "Wood for Food" Blog by Email

Want to stay posted? If you'd like to receive an email when a new post is added to the Wood for Food blog, just type your address in the above field, and click "Submit."

Thursday, September 10, 2015

Cucumber Tipi - Part 4

This is the culmination of the cucumber tipi project: beautiful flower-like Armenian cucumber slices in the kitchen!

They are tender, crispy, and almost sweet.

This is the fabric I put up to keep the marmots from getting interested in the tipi plants, earlier in the growing season. Now the cucumbers are escaping!


Some of these cucs have been getting pretty long...

Magic inside the tipi

The garden came pretty close to burning up in the fire, but the firefighters set a back burn and saved our property. Bravo! Thank you firefighters! You can see the ash on the cucumbers, a symbol of being fortunate, and a reason to be grateful.

The tipi is still providing cucumbers, though not as prolifically as before. 
Here, Fawn is harvesting a smaller cuc for us to break in half and eat on the spot.


We're enjoying the fullness of harvest time. 
(This was the first day the sun showed itself -- 
in the background is smoke, not clouds.)


The garden is

a green oasis in our semi-desert surroundings,

  and seemed even more strangely alive amidst the haze from the Okanogan Complex fires. We are very thankful to have our garden. My heart goes out to those who have experienced losses in these fires.

Sunday, July 19, 2015

Cucumber Tipi - Part 3

In spring, I covered the tipi with plastic to protect the cucumber sprouts from the cold and the wind -- and the marmots. I should have done it sooner, before a bunch of the sprouts got eaten... there is always more protection to install than I can keep up with.

The shelter really came in handy when Fawn and I got caught in a downpour! 

 
It was raining cats and dogs, but we were cozy with the cucumbers. 
 Above is the one start that I grew inside the house this year, a much-needed backup plan for my direct seed experiment (below). 

The direct seeding was a feasible trial in terms of temperature and timing, but a drawback I hadn't considered was vulnerability to wildlife. Indoor starts have an advantage in that department, being away from marmots during their most tender stage.

A great place to ride out the storm!
The spiral is the heavy gauge trellis wire I installed, 
featured in Cucumber Tipi Part 2.

When my sprouts got eaten (before the plastic went up), I wondered if all this preparation would result in a live tipi after all. Then I experienced another serendipitous provision: my friend Harris said that he had some extra Armenian cucumber starts -- ones he did not need! He offered them to me, and I felt like the luckiest garden lady around, driving home that day with those green beauties at my side. Above, you can see them freshly planted in the ground.

While planting the new starts, I noticed a plethora of earthworms in every shovel full. In a garden that had absolutely no worms in the beginning, it has been really fun to see them proliferate. They particularly liked the alpaca manure I laid down on the tipi floor, under the cardboard, in Cucumber Tipi Part 1. There is nothing like manure and cardboard to make earthworms happy. 

These starts made my heart soar -- a second chance!

When we entered a record-breaking heatwave at the end of June, I knew the plastic would have to go. Walking into the tipi was like walking into an oven.

Free!


I pulled the plastic back, and as much as I wanted to leave it open, I didn't want to lose my second round of plants. I put sheer fabric up to make the plants less obvious to marmots passing by.  (left two photos: July 2nd; right: July 19th)

 
Above right: Fawn and her friends, looking for cucumbers on July 16th.

From flowers to food...

At last our favorite garden snack begins to form!

It's a dream come true. A cucumber tipi that you can enter to escape the sun's heat, and to munch on the crispy cool goodness of summer's bounty.

Thursday, July 2, 2015

Alderwood Archeology

The Alderwood Patch has come a long way from its days as a garbage pit, the way we found it when we bought the property.

Not only has the garbage been removed in a dump truck, and hugelkultur built up underground, but this year, a favorite childhood plant of mine has volunteered, bringing a sure sign of a microclimate shift! Scouring rush (Equisetum hyemale), a wetland indicator plant that sometimes grows outside of wetlands, popped up in the Alderwood Patch this spring, like a miracle in dusty sagebrush/Ponderosa Pine country. So how are things going underground, helping to alter the balances of moisture and temperature?

In March, I decided to rebuild the raspberry trellises as they were not tall enough. I made the circle bigger and as a side benefit, began some hugel-archeology with the post hole digger.

When I hit wood, at first I thought that was as far as I could dig. Then I decided to use the breaker bar (spud bar) to see if the wood had decomposed enough to dig through.

Indeed, I was able to put the post hole right through the hugel wood.

This is the condition of the alder wood in March 2015, after being in the ground since August 2013 (one and a half years). 


3/22/2015
The Alderwood Patch with its new trellis posts

A couple months later...

5/25/2015


The raspberry blossoms attracted a wide variety of pollinators this spring. 
This might be a Cuckoo bee from the genus Nomada.

The raspberries have been alive with many kinds of bees.

My favorite: the bumblebees!


Fawn says that even the green leaves smell like raspberries.

At last they start to ripen...

...and how fitting that the wildlife got the first one! 
It seems there may be enough to go around this year, though. :-)

Wednesday, June 17, 2015

Frames for Food

As the yellow-bellied marmots seek more and more food, 
I build more and more cages. 
All shapes and sizes ~ this time of year is a framing free-for-all!

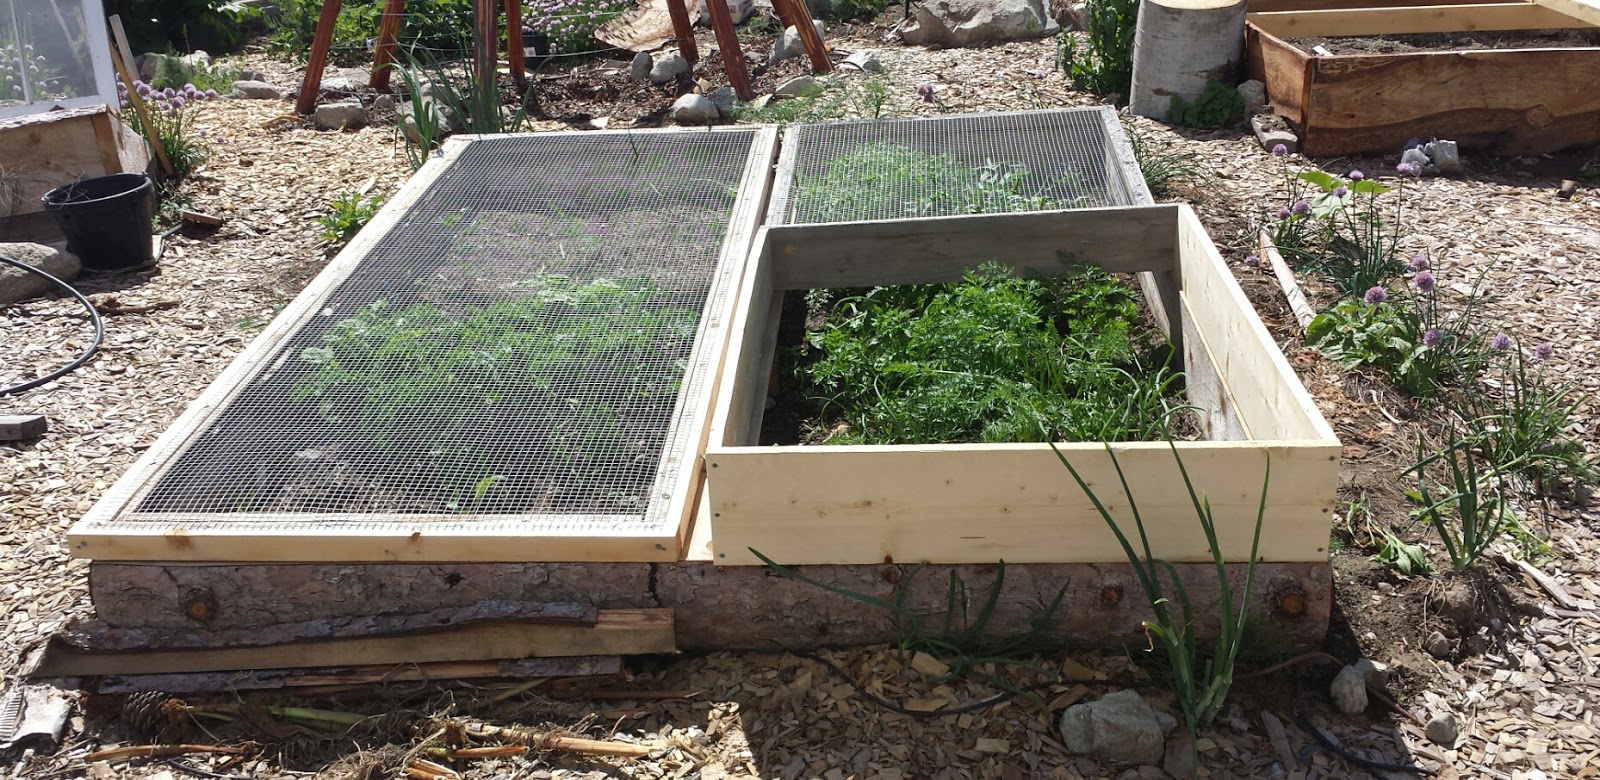
This is the first above-ground frame to grace my garden, and it is featured in the Vegetable Jail post. Lee Johnson helped me build it using old 2x6's from behind our shop. A woman from Omak was giving away old leather belts, so I tried using one for a latch on each corner to keep it shut. It is a good concept, but the old leather was already brittle and they have started ripping. It would be good to have thicker, more supple leather.

Here Fawn is harvesting from this same frame. It was planted on Valentine's Day and has been serving us well! Just a few old 2x6's can protect enough lettuce to keep our family eating salads every day. 

This design is tops for simplicity: 
1. Nail some 2x6's into a rectangle. 
2. Make a lid frame to match, using 1x2's or 2x2's, or 2x4's. 
3. Tack on hardware cloth or chicken wire. 
4. Done. 
(Hinges, latches, and plastic or fabric are optional)


This I call, "Bill's garden bed." My husband's lifelong friend, Bill, was helping me add aged manure to this bed on the day he died at our home unexpectedly, earlier this spring. He also helped me try to remove a piece of rebar that I had pounded in (last year, to support a different marmot cage that came before I learned to frame with wood). I will always remember working this soil with Bill, and the gezellig of working together that day. I will honor his memory by sharing my produce with others in the way that he was generous with us.

This is Bill's garden bed with the lids on, and after the plants have had a chance to grow.

This is how the angled lids open. I love hinges!

This large frame was featured in the Vegetable Jail post. 
I have started adding extensions as the plants get taller.

Here's how it looks from the other side. Since this photo was taken, the carrots and onions have topped out of the extension too!

This design is tops for its ability to grow taller plants...

...and the curved roof for shedding rains when plastic is laid on top. 
It is more like a mini-greenhouse than any of the other designs.

Here Fawn is picking Red Orach, a wonderfully purple salad fixing! The front panel is compression fit into the frame, and the lid lifts off.

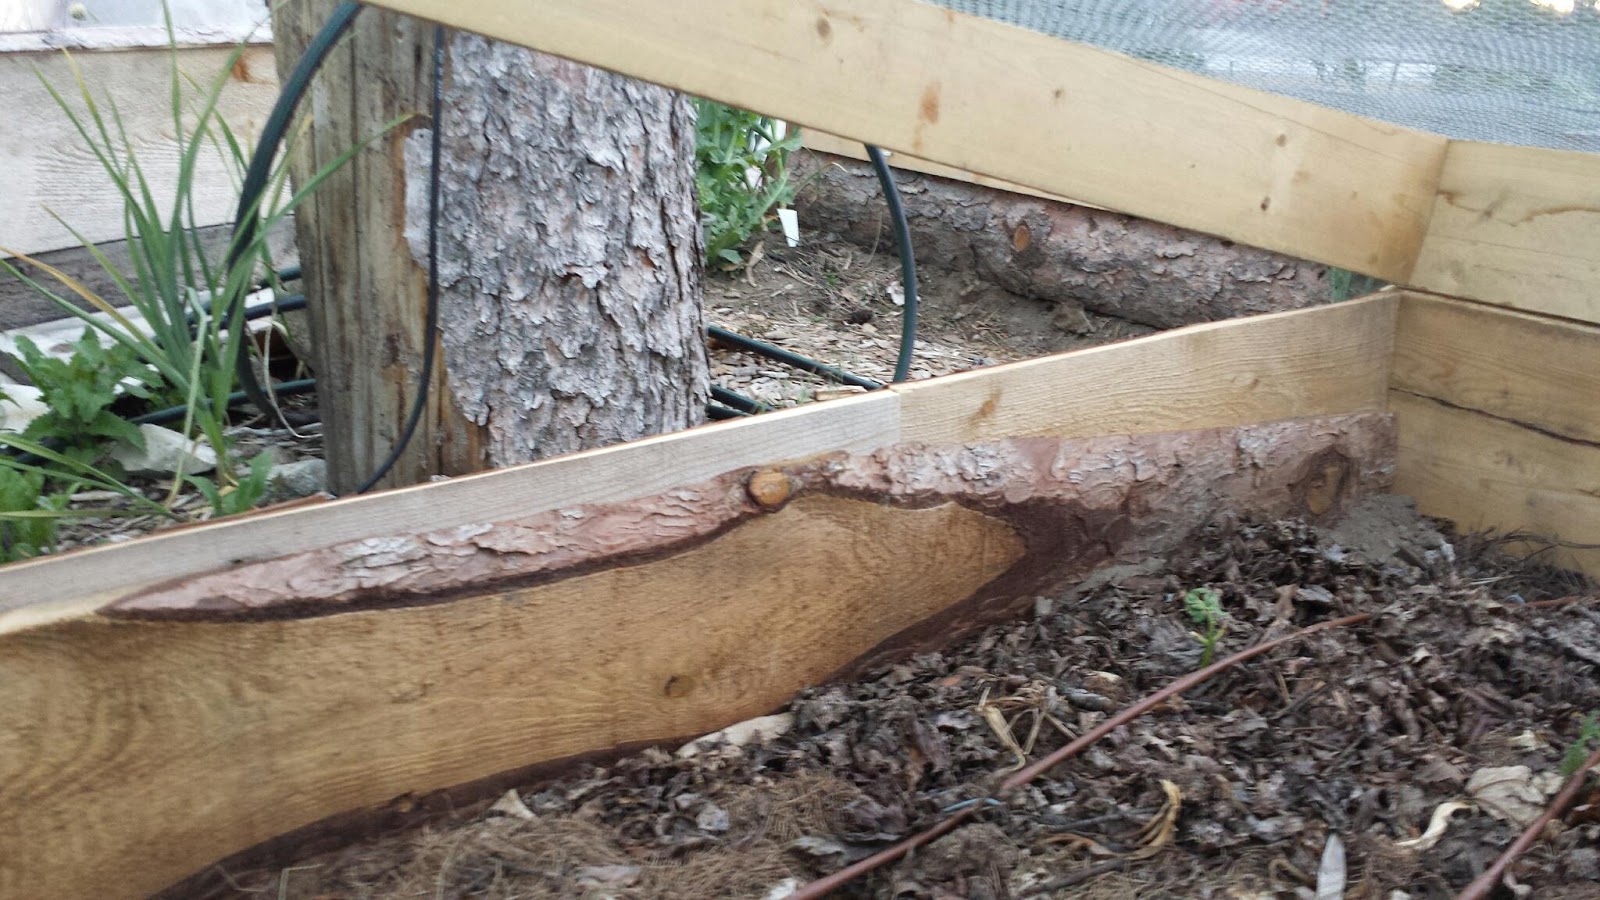
When I can't get my hands on wide or straight enough boards, then I cobble together miscellaneous pieces to create the dimensions I need. This is my green bean bed. One side is made from two pieces of slabwood.

The other side is made from several different pieces, all nailed together to generate the needed height and length.

It turned out better than I expected, given the mish-mash of pieces. I love making "something from nothing," a concept we practiced at B.X. Elementary school in our "Extra Enrichment" classes with Mrs. Barling. It means you take things that would normally be discarded as useless, and make something that you are proud of.

Deb visited my garden today and took this photo. It's fun to have garden visitors! 
(Thanks for taking this photo, Deb.)

The next frames on the docket are for the strawberry beds to keep the chipmunks off. The bonus with all of these cages is that they also function as cold frames, and will extend the growing season in both directions. So, I don't mind making the effort and learning some new skills in the process. We are definitely eating more veggies as a result.