As the yellow-bellied marmots seek more and more food,
I build more and more cages.
All shapes and sizes ~ this time of year is a framing free-for-all!

This is the first above-ground frame to grace my garden, and it is featured in the Vegetable Jail post. Lee Johnson helped me build it using old 2x6's from behind our shop. A woman from Omak was giving away old leather belts, so I tried using one for a latch on each corner to keep it shut. It is a good concept, but the old leather was already brittle and they have started ripping. It would be good to have thicker, more supple leather.

Here Fawn is harvesting from this same frame. It was planted on Valentine's Day and has been serving us well! Just a few old 2x6's can protect enough lettuce to keep our family eating salads every day.
This design is tops for simplicity:
1. Nail some 2x6's into a rectangle.
2. Make a lid frame to match, using 1x2's or 2x2's, or 2x4's.
3. Tack on hardware cloth or chicken wire.
4. Done.
(Hinges, latches, and plastic or fabric are optional)

This I call, "Bill's garden bed." My husband's lifelong friend, Bill, was helping me add aged manure to this bed on the day he died at our home unexpectedly, earlier this spring. He also helped me try to remove a piece of rebar that I had pounded in (last year, to support a different marmot cage that came before I learned to frame with wood). I will always remember working this soil with Bill, and the gezellig of working together that day. I will honor his memory by sharing my produce with others in the way that he was generous with us.

This is Bill's garden bed with the lids on, and after the plants have had a chance to grow.

This is how the angled lids open. I love hinges!

This large frame was featured in the Vegetable Jail post.
I have started adding extensions as the plants get taller.
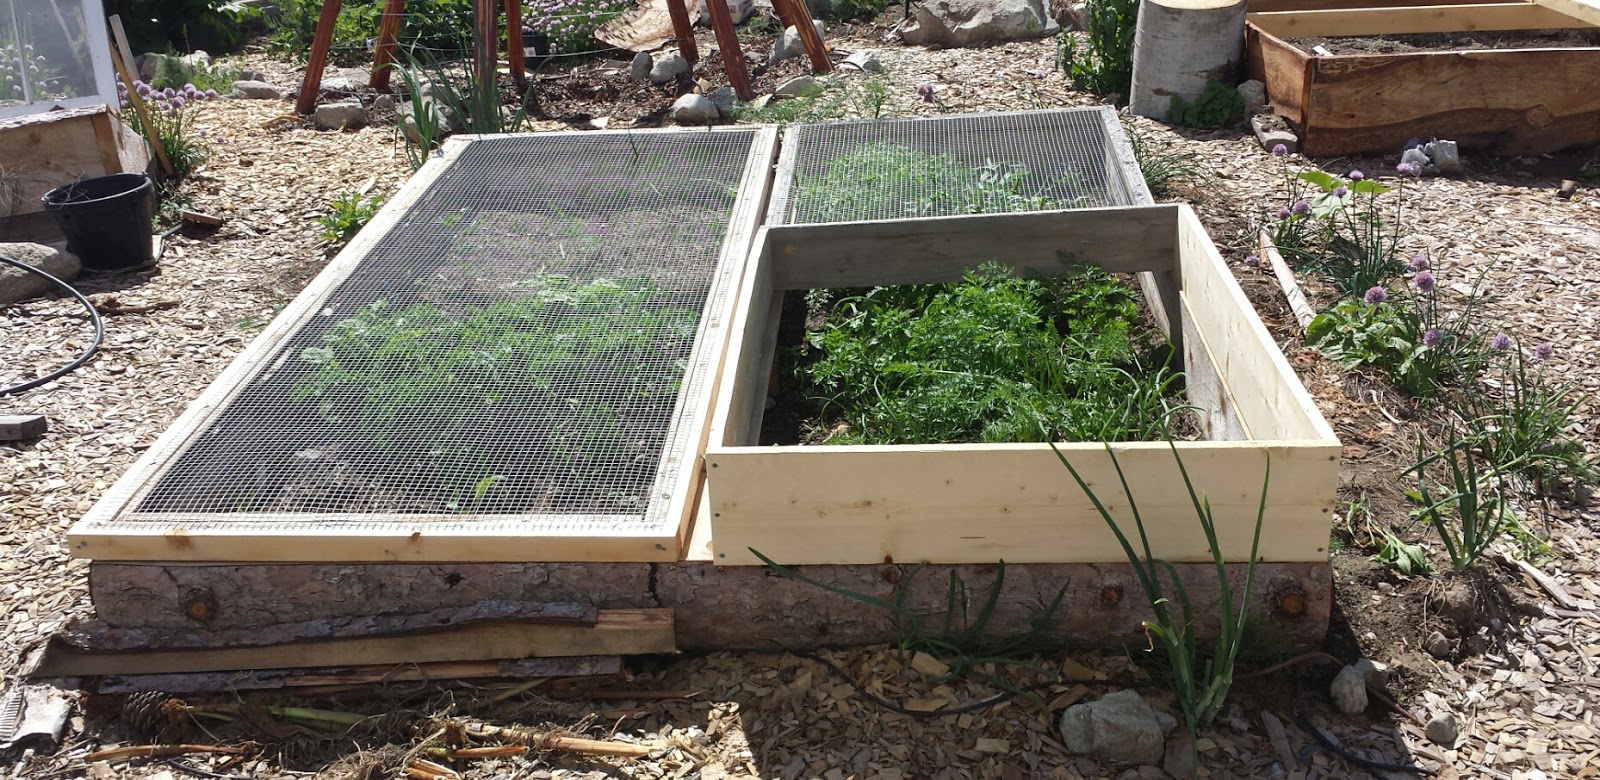
Here's how it looks from the other side. Since this photo was taken, the carrots and onions have topped out of the extension too!

This design is tops for its ability to grow taller plants...

...and the curved roof for shedding rains when plastic is laid on top.
It is more like a mini-greenhouse than any of the other designs.

Here Fawn is picking Red Orach, a wonderfully purple salad fixing! The front panel is compression fit into the frame, and the lid lifts off.
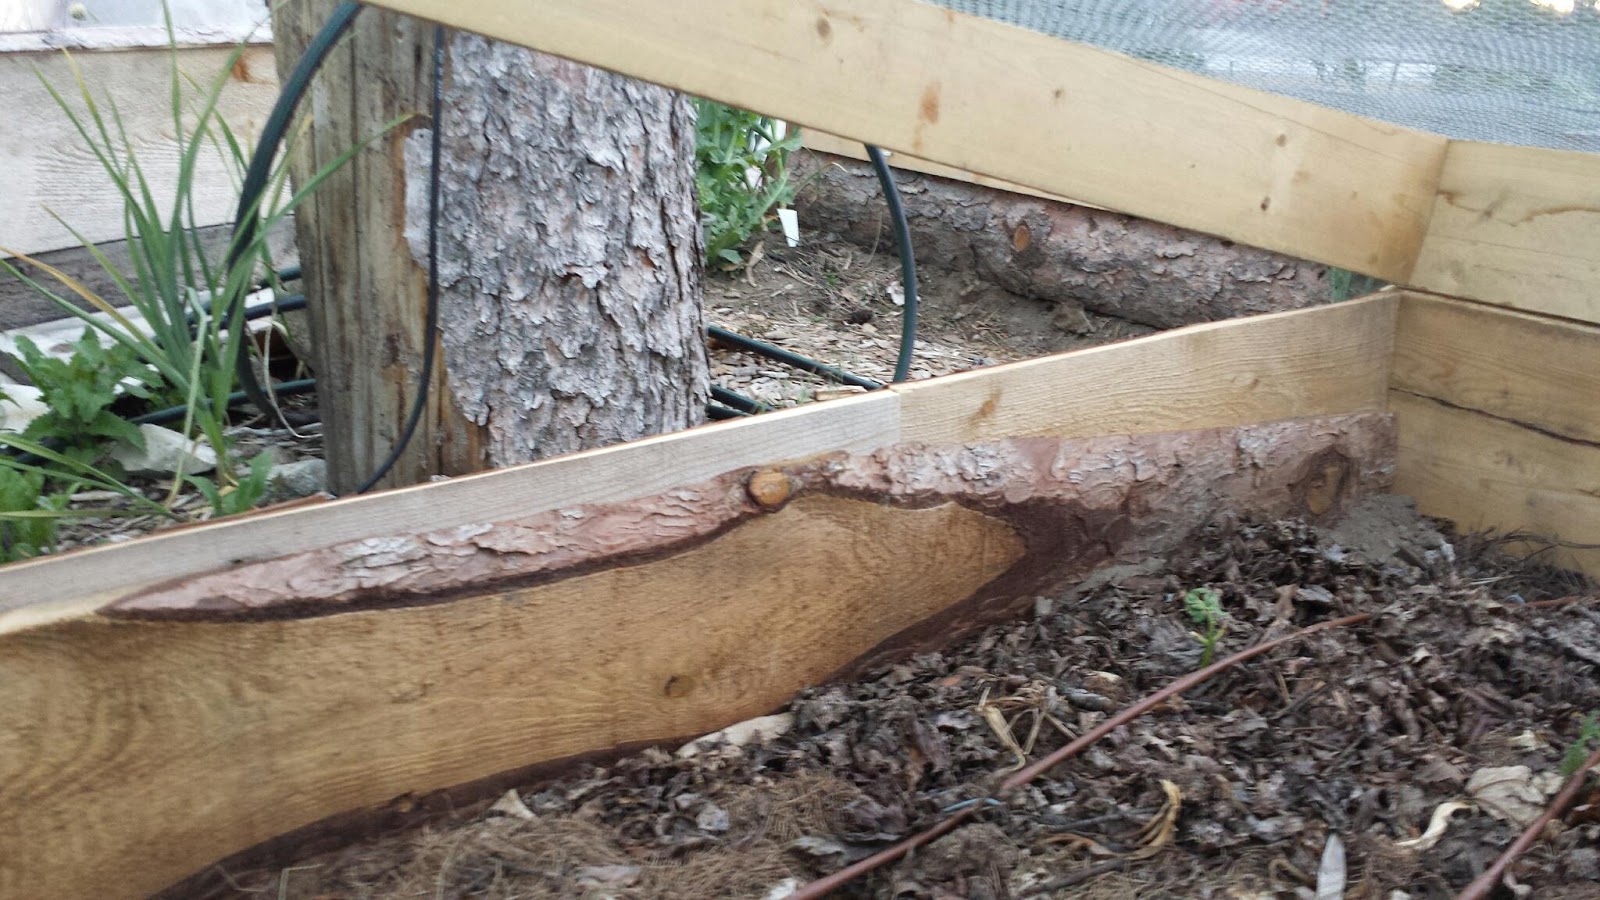
When I can't get my hands on wide or straight enough boards, then I cobble together miscellaneous pieces to create the dimensions I need. This is my green bean bed. One side is made from two pieces of slabwood.

The other side is made from several different pieces, all nailed together to generate the needed height and length.

It turned out better than I expected, given the mish-mash of pieces. I love making "something from nothing," a concept we practiced at B.X. Elementary school in our "Extra Enrichment" classes with Mrs. Barling. It means you take things that would normally be discarded as useless, and make something that you are proud of.

Deb visited my garden today and took this photo. It's fun to have garden visitors!
(Thanks for taking this photo, Deb.)
The next frames on the docket are for the strawberry beds to keep the chipmunks off. The bonus with all of these cages is that they also function as cold frames, and will extend the growing season in both directions. So, I don't mind making the effort and learning some new skills in the process. We are definitely eating more veggies as a result.