The Hugel Cold Frame Process Continues...
This post follows up on the start of the story, "Underground Cold Frame Part I." I was surprised to review the original post, as I had kind of forgotten just how much prep went into the initial stages!

This was the state of the rock work when my good friend and garden buddy, Lee, came over and helped me during September. The idea behind using large rock is that the rocks may act as heat batteries and moderate the temperature swings between day and night. Being sunken underground, the earth should also help moderate temperature changes. And with a little luck, the piles of rotting wood and horse manure underneath might help generate some warmth to help extend the growing season (see previous post for a visual on what lies below).

For the cold frame window structure, we used a mix of very weathered old boards and freshly milled spruce from Lee's property in Wauconda, hot off of my husband Bob's mill. He invited me to use whatever wood I'd like from the milled spruce -- an offer I couldn't pass up. Thanks, Bob!

Lee quickly realized that my design concept would have some serious weaknesses. He suggested we build a frame with the lumber nailed together on end, which I now realize makes a lot more sense than trying to join horizontal pieces with corner gussets. Thanks for setting me straight, Lee -- literally! I am really fortunate for the friends I have.

Here is the base frame, built from 2x6's.

We laid it in place, just to have a look and figure out the next steps.
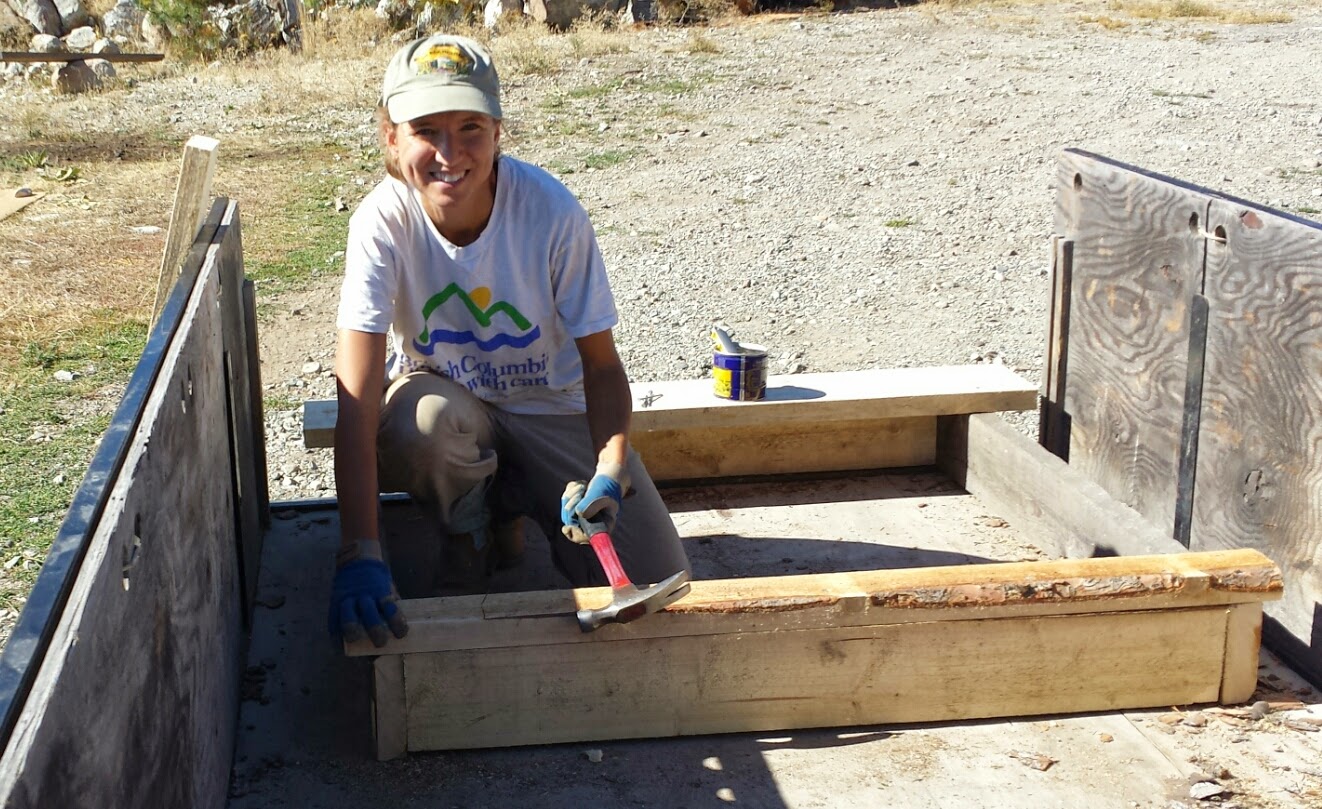
Next we filled in the horizontal space to accommodate the size of the window that my Dad had given me. I wanted the frame to have an overhang on the Northeast end, since that would give me more real estate inside the cold frame and would not impact the available sunlight due to the angle of the sun.

Testing it out to see how it feels! Yep, if I were a plant, I could definitely grow here.
:-)

We laid the window in place and I realized that I needed more of an angle to set the box on, to allow more sunlight to reach the bottom. A bunch more rock work followed during the next couple of weeks, building up the Northeast end to be quite a bit higher than the Southwest end.

After creating the best angle I could, I transplanted some swiss chard, lettuce, and sweetloaf chicory into the soil, and mulched it with cardboard and garden clippings. As you can see, there is still an issue with the depth of the pit blocking sunlight, depending on the time of day.

However, the plants are doing well. Now that it's October and the ambient temperatures have dropped considerably, it is pleasantly shocking to reach down into this space and feel the warm, moist air greeting me.

I placed some blankets on the outside of the rockwork for the time being, and over time will try to grow moss in between the rocks for insulation. This has been a great learning opportunity and I can't wait to build more cold frames in the future!
Have you experimented with underground cold frames or underground greenhouses?
I'd love to hear about it in the comment section below!
What about putting a mirror on one of the inside walls to reflect more light onto the plants?
ReplyDeleteWow, that's a really interesting idea! It hadn't occurred to me. Thanks!
DeleteP.S. Can I ask your name? Just curious who this neat idea is coming from.