Follow "Wood for Food" Blog by Email

Want to stay posted? If you'd like to receive an email when a new post is added to the Wood for Food blog, just type your address in the above field, and click "Submit."

Tuesday, May 26, 2015

Early Sowing Outdoors

This year, I experimented with growing veggies by sowing seeds directly in the soil much earlier than suggested, with additional protection from the elements. In years past, this is what my windowsills have looked like (this many starts at once):


I enjoyed raising all those starts at the time, but there were several constraints, including regular watering, space required, hardening off, and the time needed for transplanting. This year, I only did a few starts in the house, bought some onion sets, and the rest of the plants were directly seeded in the ground. In the past, I thought I needed a greenhouse to do this. At last I realized that the first month of growth only requires a hands' width of headspace, and I built frames 5-10" tall to create a cozy growing environment.

These Red Zeppelin onions were planted on April 7th as sets with live tops, ordered from a nursery. I planted them outdoors in the conventional way, without any protection from the cold, other than a thick layer of mulch (larch needles), or in this case the outside wall of a nearby cold frame. They were sets with green tops a few inches tall when they arrived.  As you can see in the photo, they are around 8" tall now, and some are smaller.

These red globe onions were sown from seed on March 5th -- a month earlier -- inside the large frame pictured in the vegetable jail / season extension post. Prior to planting, the soil had been pre-warmed with overlapping black plastic bags laid flat. They were planted with carrots as companions. These onions now have long tops, more than 18" tall.

The plants sown directly in the ground from seed had only one month head start on the mature sets, but they have definitely surpassed the sets in both height and vigor.


This honeyboat squash plant was started in the house from seed (I only did one this year). It looked very healthy in the windowsill and I hardened it off gradually, giving it more time outdoors each day. I transplanted it into the ground last week. The one gallon pot is included in the photo for scale. 

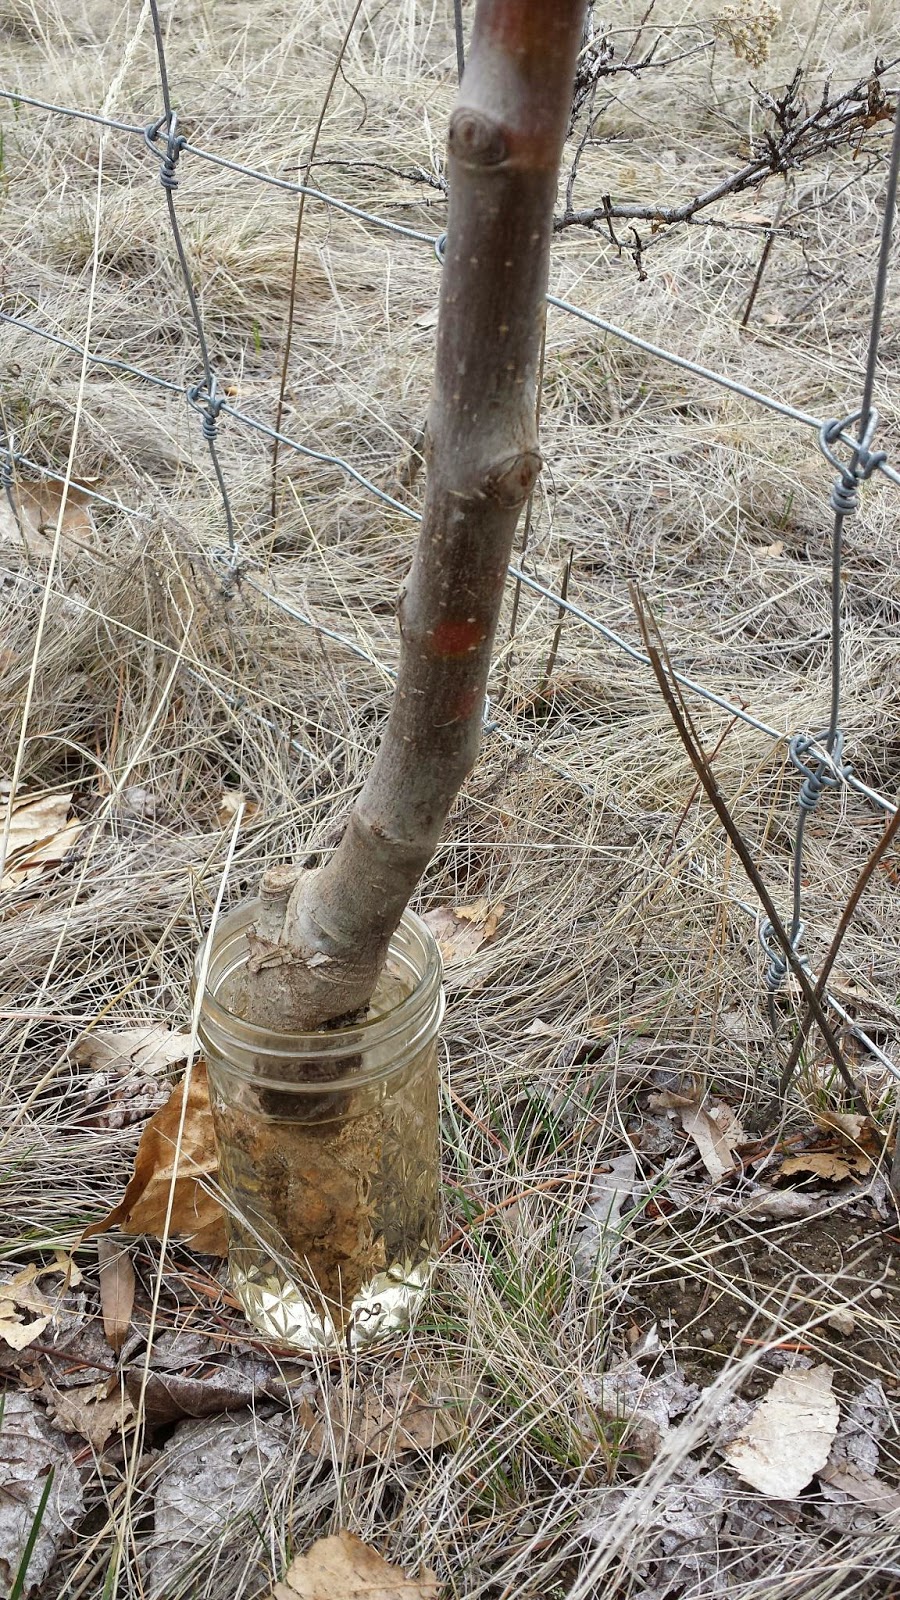
This honeyboat squash plant grew from seed sown directly in the ground when it was still quite cold out in early spring. As soon as the soil thawed, I put a seed in the ground and placed a glass bowl over it, upside down. This plant has much higher turgor pressure, making the leaves stand out erect and strong, as compared with the start from indoors, which is still limp and in a state of shock from the transplanting. This squash plant is growing in the aspen hotbed, the warmest soil in the garden with lots of rotting wood and manure. That is also where I transplanted the start from indoors.

Overall, I've seen several benefits from direct seed sowing with protection, instead of raising starts indoors. Not only does this method address all of the constraints listed above, but it also avoids transplant shock and produces vigorous plants that are already adapted to the outdoors. In addition, the frames help harness some of the heat that is likely being emitted from the underground hugelkultur. Without a frame to capture the heat as it rises, a lot of that heat is simply lost. The frames also capture solar heat. I am definitely going to repeat this experiment next year and see if the results continue to guide me toward direct seed sowing. 

An additional benefit is that the frames keep the marmots off my plants. They have mowed the greens outside of the frames, but what's protected actually ends up on our table. And that's the main idea of this whole exercise!

Sunday, May 10, 2015

Cucumber Tipi - Part 1


The center bed in my garden was taken over by orchard grass. I pulled the grass out a couple of years ago and fed it to the underground vertical spruce hugelkultur pit, but it all came back. This year I decided to layer the orchard grass bed heavily with alpaca manure and cover it with cardboard for weed suppression.

The manure from Mowry Mountain Alpacas is fabulous stuff. 
Aged, it looks like rich soil and has a somewhat sandy texture.

You could not imagine a better soil amendment!

Here is the center bed with a ring of alpaca manure where I planned to plant Armenian cucumbers.

Side-by-side comparison of alpaca manure and native soil. Need I say more?

This is the bed covered with overlapping cardboard and a layer of larch needles and leaves (pulled off my asparagus beds from last fall).


Time to put the tipi up! These are larch poles from Wauconda, thanks to a fun work day with Lee Johnson, clearing leaners from his road. First the tripod, then the clove hitch knot (first an X and then an H)...


...then the remainder of the poles plus a few wraps with the rope.

The brown tubing is a 1/4" line with drip emitters built into it.

To plant through the cardboard, my left-handed weeding tool works great for creating a hole.

Since the cardboard hadn't settled onto the ground surface yet, there was some airspace below the cardboard. I punched a bottomless jug through the hole, and poured soil and water into it like a funnel. This may seem a little tedious, but picture not having to do any weeding throughout the whole growing season! It's worth the effort up-front.

Here is a hole after soil was added and tamped down, strategically placed just below the emitter.


And a cucumber seed placed in a hole, before being covered up 
-- we can't wait for these to grow!

My next task is to wrap wire around the tipi poles to create the trellis surface, and then staple clear plastic around the outside to turn it into a greenhouse. I'll leave the plastic up until the weather warms more and the plants are large and prickly enough to be unappealing to marmots. This tipi should provide a helpful combination of vertical growing space, greenhouse conditions, and protection from wildlife. It will also provide a shady place for Fawn and I to seek shelter from the blazing sun later this summer. Stacking functions!


Sunday, March 22, 2015

Apple Tree Rescue

In 2012, I ordered six apple trees: Idared, Gravenstein, Honey Crisp, Jonagold, Yellow-Golden Delicious, and Northern Spy. I really only wanted three trees, but knew how unlikely it would be to have 100% survival.


The Gravenstein was the first to bloom, in 2014. The pink buds turned to white blossoms, a promising kind of beauty. Note the white rodent guard at the base of the trunk (at right). 

Somehow I had believed that the Gravenstein would survive all the rest, because my mother remembers eating them as a little girl, from a tree on the prairies where she lived. Also, my father made Gravenstein apple sauce one year when I was growing up, and it was the best apple sauce ever. The family connection makes this my favorite apple tree.


The rodent guards did not protect the trees from rodents. Above is what I found during my first check-up on the trees this spring, 2015. The Gravenstein and the Honey Crisp were the two trees to be hit. (Ironically, the other four had been hammered by deer in the fall when they crunched down the fencing, but at least those trees were still rooted!) At first I thought that these two were lost. It's funny how you can plant extra knowing that some will die, but when the time comes, it's hard to let them go. I did my best not to be devastated. Then my gardening friend Ying told me that she had this happen too, and that she plunked them back into the ground -- and they grew roots and lived! Perhaps all is not lost for the two trees that were taken down by small rodents acting like big rodents (beavers).


My husband mentioned an old tradition of using moss to help with grafting. My daughter and I had recently noticed that our favorite mossy outcrop had been pillaged by wildlife, pulling back chunks of moss off the granite -- perhaps deer.


We had propped up some of the moss against the rock, hoping it would re-attach. Lots of other pieces lay scattered about. This created the perfect opportunity for moss harvest, since many of those pieces were likely to die, exposed to the elements and separated from their base.


I soaked the chewed ends of the trees in water while preparing to replant them.


You know how it can be helpful to nick a cutting before planting, to stimulate root growth? I figured these trees were already nicked!


I placed a few tree treats in the hole first 
(the one growing benefit offered by the deer!)


Next I sprinkled rooting hormone on the moss and the base of the trees.


I wrapped the trees in moss and then leaves...


Placed them in the holes, added more moss, tamped it down...


...and added water, soil, and more water. 
I made a point of keeping the graft points above the soil level. 


Last but not least: a much more robust rodent protector, with metal mesh wrapped around, folded down along the ground, and held down with rocks. Here's hoping!

Monday, March 9, 2015

Life within the bed covers

March 8th was an exciting day! 
Inside the first low profile marmot and cold protection frame: 


Signs of life...


So encouraging...

I found lettuce and radish sprouts! Sprouts in the garden in the first part of March is a reason to celebrate around here. I planted it on February 21st, and the weather has been unseasonably mild... but still down to temps around -10 Celsius / 14 F during the nights last week. Warmth during the day only is not good enough for growing food, and these frames have been doing their job during the cold nights. 


An update on the lids: I decided that slipping clear plastic bags over them was not going to work. Too much moisture was condensing inside the bags, which would rot the lids, and the bags tended to flop around in the wind and drag down too low, almost to the soil, underneath. The above photo shows my large frame (8x6') with the lids revised.


I pinned plastic to the underside of the lids, up against the hardware cloth, by screwing on thin strips leftover from ripping slab wood. The strips hold the plastic to the inside of the frames. 


Then I added a rib down the middle to help support the underside of the plastic once the lid was placed on the frames again.

Here's how they look placed back on the frames. Much neater, too! 


I also added hinges using eye-bolts and fencing staples with a piece of twisted wire in between. These will help keep the lids on during windy days, and will make access easier. The wire can be removed if I want to take the lids completely off while working. 

So far this marmot and cold weather solution is really working well! I can't wait to build more frames.

Update: We've been eating salads from this frame throughout April and May, the earliest greens yet. It was an exceptionally warm spring, but these were by far ahead of other greens not protected from the elements and the marmots.

Friday, March 6, 2015

Vegetable Jail Season Extension


It's so much more fun to have gardening friends to share ideas with. 

When my daughter and I first began the effort to turn our knapweed patch into a garden, Jackie Chambers recommended the book, Gaia's Garden, by Toby Hemenway. Gaia's Garden was precisely the window I needed at that point in my journey, beckoning small scale agriculture to merge with ecology in a way that I know I'll run with for the rest of my life.


Jackie Chambers and I enjoy exchanging ideas as we each ponder the best ways to extend the growing season where we live. In this blog post, Jackie interviews me about my most recent experiment, which combines protection from cold weather with protection from marmots and other wildlife species that have a proven track record of simply not sharing


 (Who, me?)
   Above: My daughter and I caught several marmots in the garden last summer and relocated them.

I was excited to tell Jackie about this dual purpose experiment, and she wanted to see what these bed covers look like.

Left: Simple base frame, made from old 2x6 lumber
Middle: Base with simple lid frame made from 1x2 lumber, with hardware cloth stapled on
Right: Clear plastic bag slipped over the lid to extend the growing season

This is the first marmot and cold weather protection frame I made. I used old lumber that had been sitting behind our shop for years, leftover from the previous property owners. This wood was on its way to rot out of sight behind the shop, but now it will live out its last years with a new purpose. 

This is the general design I'm planning on using this year. I figure that I can always build a sloping base for these frames later if I decide I want them angled toward the sun. I love modular projects that can start out simple and then be improved upon and added to over time. The rest of this post is written in question-and-answer format.

Jackie: 
How large are they? 

Julie: At this point, they vary from 3x3.5' to 6x8'. I'm into using whatever I have available or can trade for instead of buying supplies, whenever possible. The
 guiding factors on size have been the width of the hardware cloth, the length of lumber available, and the size of the garden bed they will be used in.

1. Width of the wire: I happen to have 3' wire mesh on hand, so all of my lids need to be 3'1" wide. If you are buying whatever you need, then you'll have more options of course. Keep in mind that you can have rows of lids across a single base frame. So I've got one base frame that is 6' wide, accommodating 3' wide lids. 

2. Maximum length of lumber: Again, I'm using what I have on hand. Since none of my slab wood was more than 8' long, my largest base frame is 8' long.

3. Size of the bed where the frame will go: I like to leave at least a foot or two of growing space around each frame to account for my sacrificial plants. These are the radishes and other easy to grow veggies that keep the marmots happy enough that they don't feel a need to dig under my base frames. Here's hoping! So far this tactic has worked well for me.

The largest lid turned out to be kind of unwieldy at 3x6 feet, so the other half of the large base frame has two smaller lids instead. This has definitely been a learning process!

Jackie: 
How tall are they? 

Julie: For height, the question is, what do you want to grow? Also, how many months of the growing season require protection? It's amazing how many veggies don't need a lot of vertical space even through harvest time, as long as you aren't raising seed to save. I'm making an effort to save seed in the feral parts of my garden, and to focus on the harvest of foods within my growing frames. the width of the board determines the height of the bed cover. I like the boards for my base frames to be at least 6-7" wide, which makes a frame tall enough to accommodate radishes, beets, greens, strawberries, etc... and maybe even Tiny Tim tomatoes! (My all-time favorite high elevation tomato.) Carrots will need more height eventually, but not till later in the summer!


If you used 2x4's and ended up with a 4" tall base frame, it would still give you quite a lot of time before your plants outgrew the height. For example, at our elevation and exposure, carrots are not going to be 4" tall until the danger of a hard freeze is well in the past. You can always stack another frame on top for additional height.


I'm focused on making these as low profile as possible, to avoid having any more of my contraptions ending up in a tree. Live and learn, adapt as needed!

This frame is 7" tall. I had no idea that making a 6x8' frame would be such a workout! I think moving it was the most demanding part of the whole project, but I finally did get it in place. Afterward I felt like I'd been playing rugby, not building a super simple garden project! Here I am positioning the frame, trying the lids out, seeing if it's all going to work... 

This is the first one I've made using slab wood. I used a skill saw to rip a straight line along the edges, so the frames would have a square surface to rest on. My husband ran the other sides through the table saw, but some pieces I straightened on both sides with a skill saw -- since I'm a southpaw who doesn't like the backwards feel of the table saw. Somehow the backwards feel of the right-handed skill saw is less disconcerting.


Jackie: 
How long do you leave them in place?

Julie: I have to protect against marmots till July if they estivate, or all summer if they don't. Sometimes when you irrigate, the marmots opt out of summertime hibernation!! (Why sleep when the eating is good?) Whatever plants I cage, those are the plants that end up feeding us, and they often need caging on an ongoing basis... thus, "Vegetable Jail." Then the season extension comes into play in September again,  so I may just leave the frames in place throughout the growing season. I'll pull the plastic off when it gets warmer out. (Above: One of the marmots we relocated, after we set it free.)


Jackie: 
How long does it take to build one?

Julie: I can build one in an afternoon. It'd be a lot quicker if I wasn't ripping boards length-wise! I think once I get the hang of it, I could build a smaller one in a couple of hours.


The soil in the rest of the garden is too frozen to sink a shovel into, but inside these frames, the soil is supple and ready to plant.

This spring, when the marmots wake up, I'm going to be ready for them. And in the meantime, I'm direct seed sowing some of the veggies I would normally need to start indoors (or start much later), in the relative warmth of these covered beds.